

11 min read • 2,260 words
How to Fix Common Windows 11 Errors and Problems
As a Windows 11 user, encountering errors and problems can be frustrating and disruptive to your daily tasks. Knowing how to fix Windows 11 errors is essential for maintaining a smooth and efficient computing experience. This article will guide you through some of the most common issues users face, including failed system updates, slow performance due to background applications, and corrupted system files. By understanding these problems and their solutions, you can save time and enhance your productivity.
In this article, you will learn effective methods to troubleshoot and resolve various Windows 11 errors. From running the System File Checker to reset network settings and updating drivers, we will cover practical steps to help you regain control over your system. By following these guidelines, you can ensure that your Windows 11 experience is as seamless as possible, allowing you to focus on what truly matters.
Step-by-Step Tutorial
Step 1: Check for Windows Updates
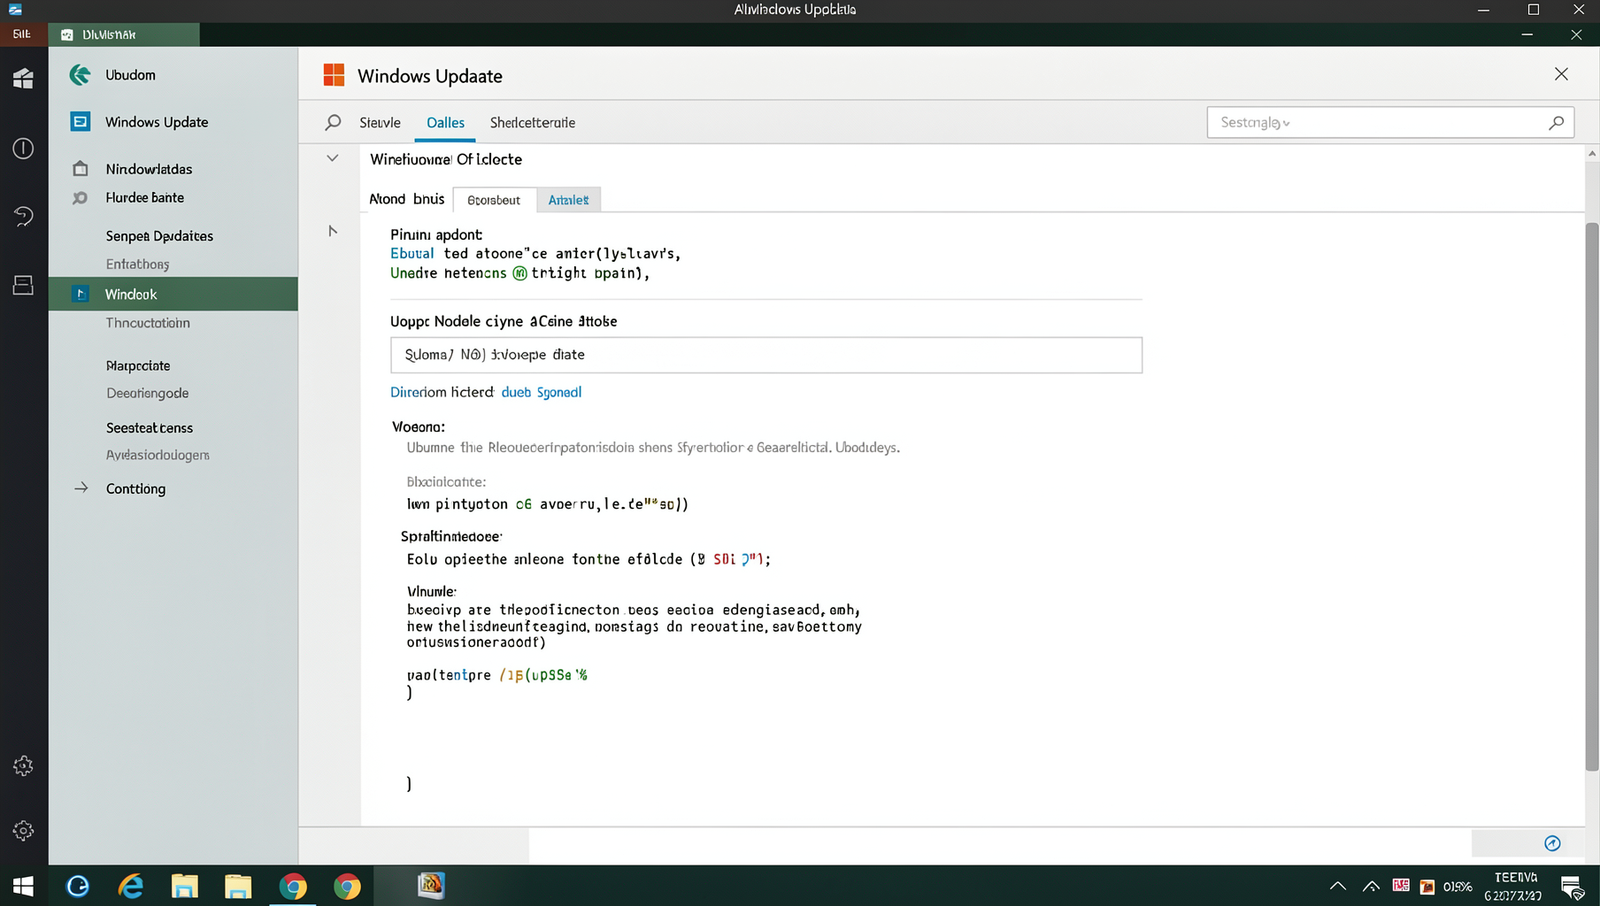
Keeping your Windows 11 operating system updated is crucial for maintaining its performance and security. Here’s how you can check for and install updates:
- Open Settings: Click on the Start menu located at the bottom left corner of your screen. From the menu, select the gear icon to open the Settings app.
- Navigate to Windows Update: In the Settings window, look for the option labeled “Windows Update” on the left sidebar. Click on it to access the update settings.
- Check for Updates: Once you are in the Windows Update section, you will see a button that says “Check for updates.” Click on this button to initiate the search for available updates.
- Install Updates: If there are updates available, Windows will automatically start downloading them. Once the download is complete, you may be prompted to install the updates. Follow the on-screen instructions to complete the installation process.
- Restart Your Computer: After the updates are installed, it is often necessary to restart your computer to apply the changes. Make sure to save any open work before restarting.
Regularly checking for updates ensures that your system is equipped with the latest patches and fixes, enhancing security and performance. It is advisable to set your updates to install automatically to avoid missing critical updates. Always ensure you have a stable internet connection while performing updates to prevent any interruptions.
Step 2: Run the Windows Troubleshooter
1. **Open Settings**: Begin by clicking on the Start menu located at the bottom left corner of your screen. From there, select the gear icon to open the Settings app.
2. **Navigate to System**: In the Settings window, look for the “System” option on the left sidebar and click on it. This section contains various system-related settings.
3. **Access Troubleshoot**: Within the System settings, scroll down and find the “Troubleshoot” option. Click on it to access troubleshooting features.
4. **Select Other troubleshooters**: After clicking on Troubleshoot, you will see an option labeled “Other troubleshooters.” Click on this to view a list of available troubleshooters for different issues.
5. **Find the Relevant Troubleshooter**: Browse through the list to find the troubleshooter that corresponds to your specific issue. For example, if you are experiencing internet connectivity problems, look for the “Internet” troubleshooter. If you have audio issues, select the “Audio” troubleshooter.
6. **Run the Troubleshooter**: Once you’ve identified the appropriate troubleshooter, click on the “Run” button next to it. The troubleshooter will begin to scan for problems and attempt to resolve them automatically.
7. **Follow On-Screen Instructions**: Follow any prompts or instructions provided by the troubleshooter. It may suggest fixes or require you to make certain changes.
8. **Restart Your Computer**: After the troubleshooter has completed its process, it is advisable to restart your computer to ensure that any changes take effect.
**Tips**: Utilize the troubleshooter for specific issues like network or audio problems to save time and effort.
**Warnings**: Be aware that some troubleshooters may require administrative privileges to run effectively.
Step 3: Perform a System File Check
1. **Open Command Prompt as Administrator**: To begin the System File Check (SFC), you need to open the Command Prompt with administrative privileges. Click on the Start menu, type “cmd” in the search bar, and right-click on “Command Prompt” from the search results. Select “Run as administrator” from the context menu. If prompted by User Account Control, click “Yes” to allow it to run.
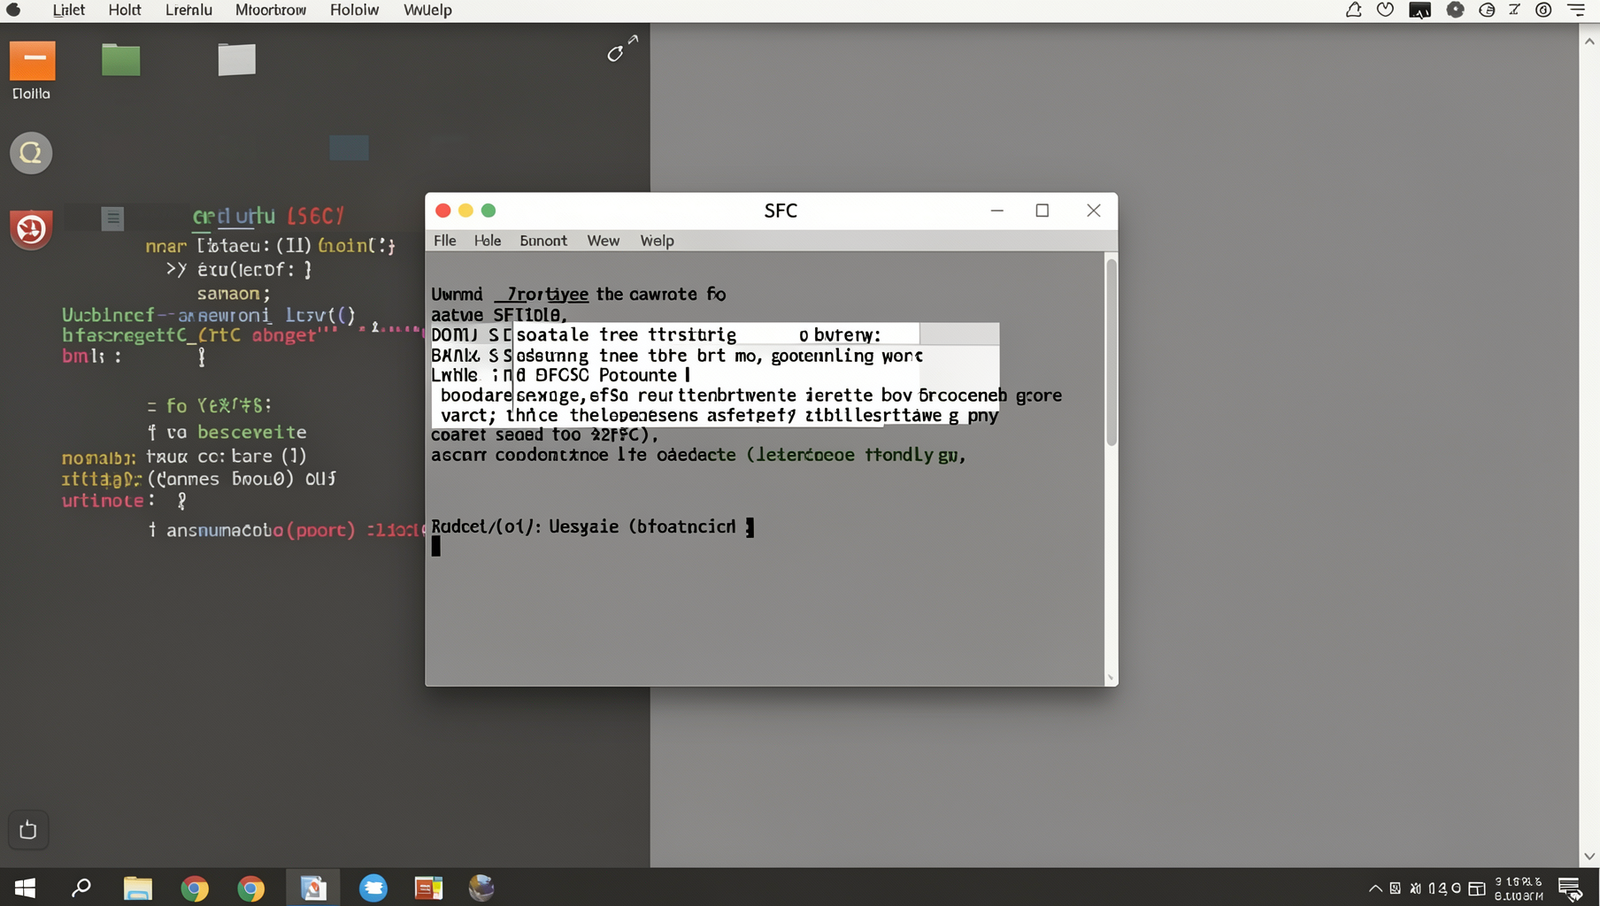
2. **Enter the SFC Command**: Once the Command Prompt window is open, you will see a black screen with a blinking cursor. Type the following command:
sfc /scannowAfter typing the command, press the Enter key on your keyboard. This command instructs Windows to scan all protected system files and repair any corrupted files it finds.
3. **Wait for the Scan to Complete**: The scanning process may take some time, depending on your system’s performance and the number of files that need to be checked. During this time, it is crucial to avoid interrupting the process. You will see a progress percentage displayed on the screen. Be patient and allow the scan to finish.
4. **Review the Results**: Once the scan is complete, you will receive a message indicating whether any corrupted files were found and if they were successfully repaired. If the SFC tool finds issues that it cannot fix, you may need to consider additional troubleshooting steps.
By performing a System File Check, you can enhance your system’s stability, especially after experiencing crashes or performance issues. Always remember to close all applications before running this command to ensure a smooth process.
Step 4: Reset Network Settings
If you are experiencing persistent network issues on your Windows 11 device, resetting your network settings can often resolve these problems. Follow these detailed instructions to perform a network reset:
1. **Access Settings**: Begin by clicking on the Start menu located at the bottom left corner of your screen. From there, select the gear icon to open the Settings app.
2. **Navigate to Network & Internet**: In the Settings window, look for the “Network & Internet” option in the left sidebar and click on it. This section contains all the settings related to your network connections.
3. **Open Advanced Network Settings**: Scroll down to find the “Advanced network settings” link. Click on it to access additional options related to your network configuration.
4. **Initiate Network Reset**: Within the Advanced network settings, locate the “Network reset” option. Click on it to proceed. You will see a brief description of what a network reset entails.
5. **Confirm the Reset**: After reading the information, click on the “Reset now” button. A prompt will appear asking you to confirm the action. Click “Yes” to initiate the reset process.
Once you complete these steps, Windows will remove and reinstall all your network adapters, which can help resolve various connectivity issues. Keep in mind that you will need to reconnect to your Wi-Fi networks afterward, so ensure you have your Wi-Fi password handy. This step is particularly useful if you are facing ongoing network difficulties.
Step 5: Update Device Drivers
Updating device drivers is a crucial step in resolving common Windows 11 errors and ensuring your hardware functions correctly. Follow these detailed instructions to update your device drivers effectively:
1. **Open Device Manager**: Right-click on the Start menu located at the bottom-left corner of your screen. From the context menu that appears, select ‘Device Manager’. This will open a new window displaying all the hardware components connected to your computer.
2. **Expand Device Categories**: In the Device Manager window, you will see various categories such as ‘Display adapters’, ‘Network adapters’, ‘Sound, video and game controllers’, and more. Click on the arrow next to the category that contains the device you wish to update.
3. **Select the Device**: Once you have expanded the category, locate the specific device you want to update. Right-click on the device name to bring up another context menu.
4. **Update Driver**: From the context menu, select ‘Update driver’. This will prompt a new window with two options: ‘Search automatically for updated driver software’ and ‘Browse my computer for driver software’.
5. **Choose Update Method**: If you select ‘Search automatically for updated driver software’, Windows will search online for the latest driver. If you have downloaded the driver from the manufacturer’s website, choose ‘Browse my computer for driver software’ and navigate to the downloaded file.
Remember to check for updates regularly to avoid hardware issues. Ensure you are connected to the internet for driver updates, and consider visiting the manufacturer’s website for the latest drivers to ensure optimal performance.
Step 6: Check Disk for Errors
1. **Open Command Prompt as Administrator**: To begin, you need to access the Command Prompt with administrative privileges. Click on the Start menu, type “cmd” in the search bar, and right-click on “Command Prompt” from the results. Select “Run as administrator” to open it with the necessary permissions.
2. **Type the Check Disk Command**: Once the Command Prompt window is open, you will need to enter the command that checks for disk errors. Type
chkdsk /fand press Enter. The “/f” flag tells the system to fix any errors it finds on the disk.
3. **Confirm the Action**: If the drive you are checking is currently in use, you will receive a message stating that the disk is locked. The system will then ask if you would like to schedule the disk check for the next time you restart your computer. Type “Y” for yes and press Enter.
4. **Restart Your Computer**: To allow the disk check to run, you must restart your computer. Close any open applications and restart your system. During the boot process, Windows will automatically perform the disk check and attempt to fix any errors it discovers.
5. **Wait for the Process to Complete**: Depending on the size of your drive and the number of errors, this process may take some time. It is important to be patient and let the system complete the check.
By running this command, you can fix disk errors that may be causing crashes or slow performance, ultimately improving your system’s overall functionality. Always remember to back up important data before performing disk checks to avoid any potential data loss.
Step 7: Disable Startup Programs
1. **Open Task Manager**: To begin the process of disabling startup programs, press Ctrl + Shift + Esc simultaneously. This key combination will bring up the Task Manager window.
2. **Navigate to the Startup Tab**: Once the Task Manager is open, look for the ‘Startup’ tab at the top of the window. Click on it to view a list of programs that are set to launch when your computer starts.
3. **Identify Unnecessary Programs**: Review the list of startup programs carefully. Identify any applications that you do not need to run at startup. These might include software that you rarely use or programs that are not essential for your daily tasks.
4. **Disable Unwanted Programs**: For each program you wish to disable, right-click on the program name. A context menu will appear. Select ‘Disable’ from this menu. This action will prevent the selected program from launching automatically when your computer boots up.
5. **Close Task Manager**: After you have disabled the unnecessary startup programs, you can close the Task Manager. Simply click the ‘X’ in the upper right corner of the window.
By following these steps, you will effectively reduce the number of programs that start with your computer, leading to faster boot times and improved overall performance. Remember to only disable programs that you recognize and do not need at startup. It’s also a good practice to review your startup items periodically to ensure optimal performance. However, be cautious; disabling essential programs may affect system functionality, so always double-check before making changes.
Step 8: Restore Your PC
Restoring your PC can be an effective way to resolve persistent issues in Windows 11. Follow these steps carefully to perform a restoration:
1. **Open Settings**: Click on the Start menu and select the gear icon to open the Settings app.
2. **Navigate to System**: In the Settings window, click on the ‘System’ option located in the left sidebar.
3. **Access Recovery Options**: Scroll down and select ‘Recovery’ from the list of options available under the System settings.
4. **Initiate Reset**: Under the ‘Reset this PC’ section, you will see a button labeled ‘Get started’. Click on this button to proceed.
5. **Choose an Option**: You will be presented with two options:
– **Keep my files**: This option will remove apps and settings but retain your personal files.
– **Remove everything**: This will delete all your personal files, apps, and settings. Choose the option that best suits your needs.
6. **Follow the Prompts**: After selecting your preferred option, follow the on-screen instructions. Windows will guide you through the process, which may take some time.
7. **Final Steps**: Once the restoration is complete, your PC will restart. Check to see if the issues you were experiencing have been resolved.
**Tips**: Use this restoration option as a last resort if other troubleshooting methods fail. Additionally, consider creating a recovery drive for future issues.
**Warnings**: Before proceeding with the restoration, ensure that you back up any important files to avoid data loss.
Conclusion
In summary, fixing Windows